
How To Install Pitched Roof Insulation Between Rafters
December 02,2025
9 Minute Read
Installing pitched roof insulation between rafters is one of the most effective ways to improve your home’s energy efficiency and comfort. By properly insulating your roof, you can reduce heat loss, lower energy bills, and maintain consistent indoor temperatures throughout the year. Homeowners in Johnston and surrounding areas especially benefit from efficient insulation that keeps homes warmer in winter and cooler in summer.
- Improved comfort: Quality insulation helps maintain steady indoor temperatures year-round.
- Lower utility costs: Reduces the need for excessive heating or cooling, saving money over time.
- Energy efficiency: Enhances overall home performance and may increase property value.
Understanding Pitched Roof Insulation
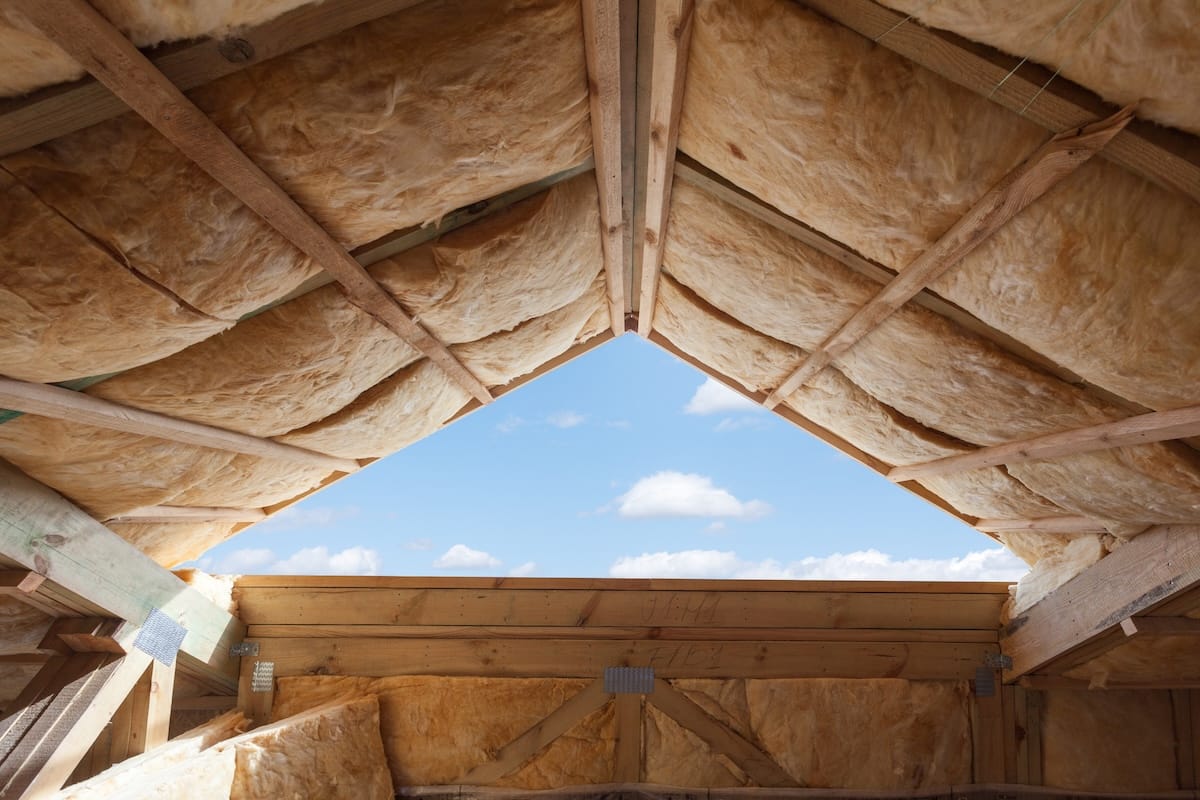
Before you start, it’s important to understand what pitched roof insulation between rafters actually is and why it matters. This method involves placing insulation directly between the wooden beams (rafters) in your roof, creating a continuous thermal barrier that prevents warm air from escaping through the roof’s surface.
Homes in Johnston and surrounding areas often feature pitched roofs because they efficiently shed rain and snow. However, without proper insulation, a significant amount of your home’s heat can escape through the roof—sometimes as much as 25%. Adding insulation between rafters ensures your attic and living spaces stay comfortable while reducing your heating and cooling costs year-round.
Common Insulation Materials for Pitched Roofs
Choosing the right insulation material is essential for ensuring long-term energy efficiency and comfort. Each material type offers different benefits in terms of performance, cost, and ease of installation.
Fiberglass Insulation
Fiberglass batts or rolls are among the most common insulation options for pitched roofs. They are lightweight, easy to handle, and available in multiple R-values to meet various climate needs. When properly installed, fiberglass insulation effectively traps air, slowing the transfer of heat between your living space and the attic.
Homeowners in Johnston and surrounding areas often appreciate fiberglass for its affordability and fire resistance. It’s also widely available, making it a convenient choice for both DIY and professional installations.
Rigid Foam Boards
Rigid foam boards offer excellent thermal resistance in a compact form. Made from materials such as polyisocyanurate or extruded polystyrene, these boards are ideal for homes that require high R-values but have limited space between rafters.
Unlike fiberglass, rigid foam doesn’t absorb moisture and provides consistent insulation performance over time. Its durability also makes it resistant to pests and mold, which can be an issue in humid climates. For homeowners looking for maximum efficiency with minimal thickness, rigid boards are an excellent choice.
Spray Foam Insulation
Spray foam insulation is a premium option that expands to fill gaps and create an airtight seal. It’s particularly effective for irregular roof structures or attics with difficult-to-reach areas. Spray foam provides both thermal insulation and air sealing, improving overall comfort and energy performance.
Although more expensive than other options, spray foam’s superior moisture resistance and ability to block drafts make it a worthwhile investment. In Johnston and surrounding areas, where temperature and humidity levels can vary significantly, spray foam delivers long-term performance and reliability.
7 Steps To Install Pitched Roof Insulation Between Rafters
Installing pitched roof insulation between rafters requires careful preparation and attention to detail. Following the right steps ensures proper coverage, ventilation, and long-lasting performance.
- Inspect the Roof Structure: Begin by examining your rafters for signs of rot, moisture damage, or leaks. Any structural problems should be repaired before installing insulation to prevent future issues.
- Measure the Rafter Spacing: Use accurate measurements to determine the width and depth of your rafters. This ensures insulation panels or batts fit snugly without compression, maximizing energy efficiency.
- Select the Right Insulation Type: Choose the material best suited for your home’s needs, budget, and available space. In colder climates, thicker materials or higher R-values are recommended.
- Install Ventilation Baffles: Place ventilation channels between rafters to maintain airflow from soffit to ridge. Proper ventilation prevents condensation buildup and extends roof life.
- Cut and Fit the Insulation: Trim insulation to match your rafter spacing and insert it carefully between beams. The material should fit snugly without gaps or folds.
- Seal Gaps and Edges: Use spray foam or caulk around the edges and joints to create a tight air barrier. This step helps prevent energy loss and moisture infiltration.
- Add a Vapor Barrier: Finally, install a vapor control layer over the insulation to prevent moisture from entering. In Johnston and surrounding areas, this is crucial for keeping your roof dry during humid summers and snowy winters.
Key Considerations Before You Start
Installing roof insulation involves more than just fitting material between rafters. There are several important considerations that affect the success and longevity of your project.
Ventilation
Proper ventilation is critical for roof performance. Without adequate airflow, moisture can become trapped inside your insulation, leading to mold, rot, and structural damage. Make sure soffit and ridge vents are unobstructed, and consider adding additional vents if your attic feels excessively humid.
Building Codes and R-Value Requirements
Before beginning, check local building codes for minimum insulation requirements. In Iowa, attic insulation generally needs to achieve an R-value between R-38 and R-49. This standard helps homeowners in Johnston and surrounding areas maintain energy efficiency in both hot and cold weather.
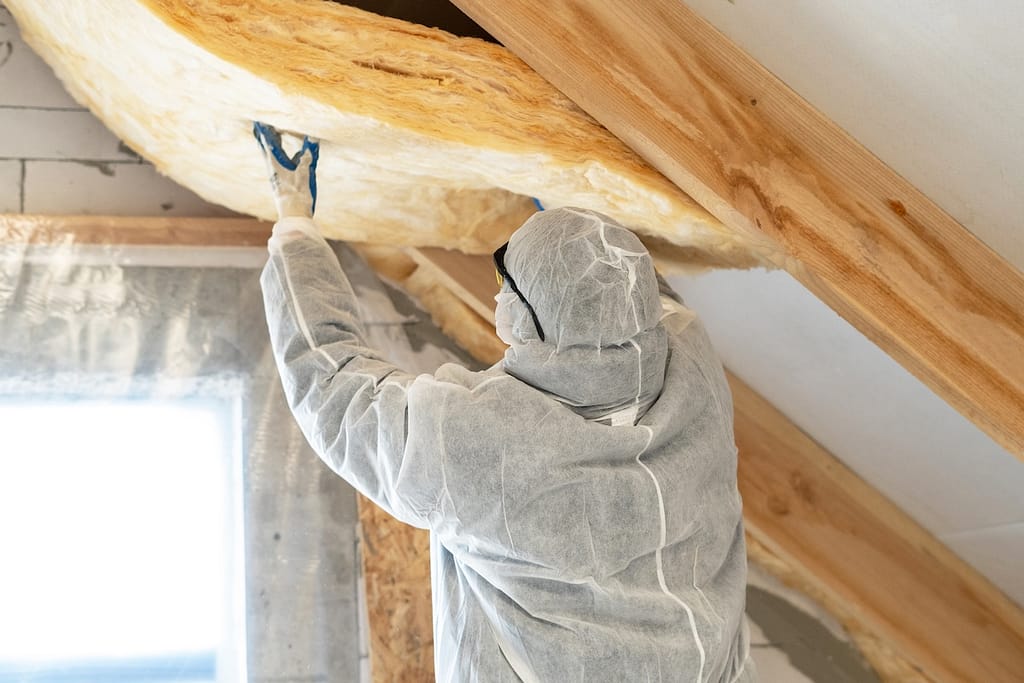
Professional Assistance
While it’s possible to install insulation yourself, working with a professional roofer ensures the job is done correctly and safely. Experts can evaluate your existing insulation, verify airflow patterns, and recommend the best materials for your specific roof design. They also ensure compliance with building codes and manufacturer warranties.
Benefits of Proper Roof Insulation
When properly installed, pitched roof insulation between rafters offers multiple advantages that go far beyond energy savings. These benefits enhance comfort, protect your home’s structure, and even improve resale value.
Improved Comfort and Climate Control
Insulated roofs maintain consistent indoor temperatures throughout the year. During winter, insulation traps warm air inside, while in summer, it helps keep your home cool. This stability makes a noticeable difference in comfort levels across multiple rooms.
Energy Savings
Because insulation reduces heat transfer, your HVAC system doesn’t have to work as hard to maintain your preferred indoor temperature. Over time, this can lead to significant reductions in monthly energy bills. Many homeowners see a full return on investment within just a few years.
Noise Reduction
Roof insulation also acts as a sound barrier, minimizing outside noise from rain, wind, or traffic. This is especially beneficial if your home is located near busy streets or open areas common in Johnston and surrounding areas.
Moisture and Condensation Control
Moisture management is critical in roof systems. Properly installed insulation and vapor barriers reduce the risk of condensation, preventing damage to rafters, ceilings, and drywall. Maintaining dryness also helps deter mold and mildew growth.

Common Mistakes To Avoid
Even a high-quality insulation material can fail if installed incorrectly. Homeowners should be mindful of several common errors during the installation process.
- Blocking ventilation: Covering air vents or restricting airflow can trap heat and moisture, leading to rot and mold.
- Leaving gaps: Spaces between insulation pieces reduce efficiency and allow heat to escape.
- Compressing insulation: Squishing insulation reduces its ability to trap air, lowering the R-value.
- Skipping the vapor barrier: Without a vapor barrier, condensation can form inside the roof cavity.
Avoiding these mistakes ensures your roof performs efficiently and lasts for many years.
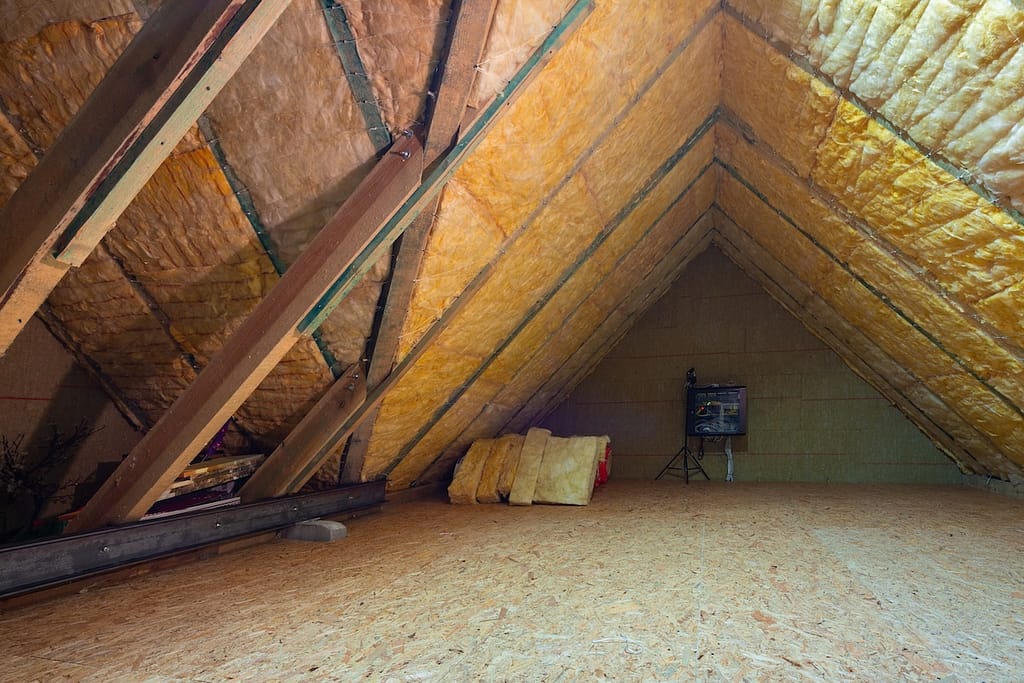
When To Replace or Upgrade Existing Roof Insulation
Over time, insulation can lose effectiveness due to settling, moisture exposure, or age. If your home feels drafty or your energy bills keep rising, it may be time for an upgrade.
Signs You Need New Insulation
If you notice uneven temperatures throughout your home, that’s a sign heat is escaping through under-insulated areas. Similarly, condensation or mold in your attic indicates poor moisture control. Another red flag is sagging or deteriorating insulation, which reduces performance.
Homeowners in Johnston and surrounding areas with older properties often find that replacing outdated insulation with modern materials provides a dramatic improvement in both comfort and energy efficiency.
Why Professional Installation Matters
Although DIY insulation is possible, professional installation guarantees precision and long-term results. Renowned contractors have the training and equipment to fit insulation securely, seal potential air leaks, and ensure ventilation remains balanced.
Professional installers also understand how to integrate insulation with existing roofing components such as vapor barriers and attic vents. This comprehensive approach helps prevent issues like condensation buildup, ice dams, and uneven temperatures.
By working with a trusted roofing company in Johnston and surrounding areas, you’ll ensure your insulation performs at its best and complies with all local building standards.
Maintaining Your Insulated Roof
Once installed, roof insulation requires little maintenance. However, periodic checks can help identify small issues before they grow into costly repairs.
- Inspect annually: Look for sagging, gaps, or damp spots that indicate leaks or moisture buildup.
- Check ventilation: Keep all vents open and clear of debris.
- Address leaks promptly: Even small roof leaks can reduce insulation efficiency and cause rot.
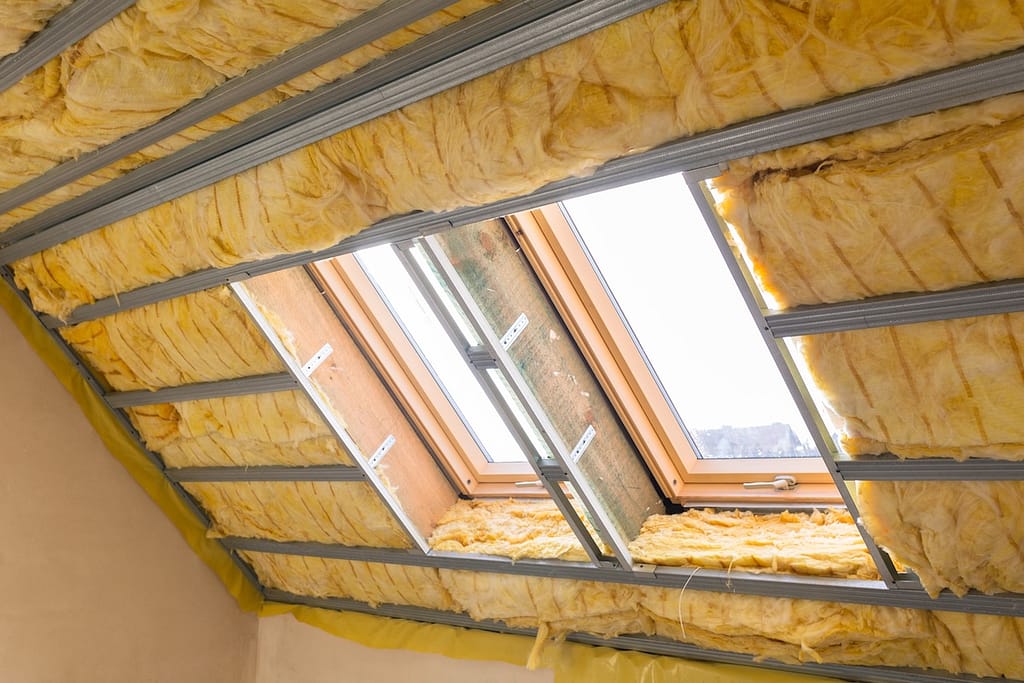
- Review after renovations: Adding skylights, vents, or other roof features may require insulation adjustments.
Routine maintenance ensures your insulation continues to provide reliable comfort and efficiency for years to come.
Protect Your Home With Heartland
Installing pitched roof insulation between rafters is one of the smartest ways to improve your home’s comfort, efficiency, and overall value. By investing in proper insulation, you’ll enjoy lower energy bills, fewer drafts, and a more consistent indoor environment.
Heartland proudly serves homeowners in Johnston and surrounding areas with high-quality roofing and insulation solutions designed to withstand Iowa’s climate. Our experienced professionals ensure every project meets the highest standards of quality and performance.
Contact Heartland today for your free estimate and discover how professional roof insulation can make your home more comfortable, energy-efficient, and durable for years to come.

Get Started Today!
From roofing to siding, Heartland Roofing is the team you need to take your home exterior to the next level. All you need to do is reach out! Fill out our contact form or give us a call to get the reliable help that you need.


