

How To Install Vinyl Siding: Tools, Steps, and Pro Tips
June 26,2025
7 Minute Read
How to install vinyl siding might seem like a challenging home improvement project, but with the right tools, guidance, and techniques, it can be a manageable task for homeowners. Whether you’reembarking on a complete exterior makeover or replacing damaged pieces, this guide will walk you through everything you need to know about installing vinyl siding correctly.
Here’s what we’ll cover in this post:
- The essential tools you’ll need to get started
- A step-by-step guide to ensure a smooth installation
- Expert tips to make your siding last for years
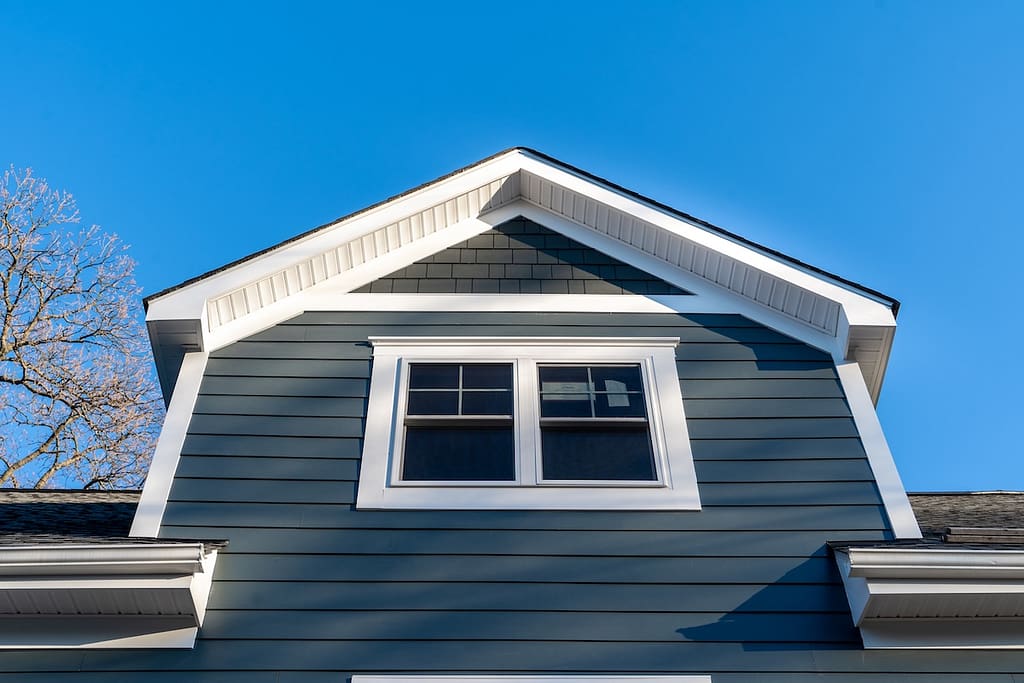
Why Choose Vinyl Siding for Your Home?
Vinyl siding offers a balance of performance, affordability, and visual appeal that makes it a practical option for many homeowners. Understanding its benefits can help you decide if it is the right fit for your home’s exterior needs.
Benefits of Vinyl Siding
Vinyl siding has become a top choice for homeowners, and for good reason. Here are a few key benefits:
- Durability: Vinyl siding can withstand harsh weather conditions, from heavy rains to harsh sunlight.
- Low Maintenance: Unlike wood, vinyl siding doesn’t require painting or regular upkeep. A simple rinse with a garden hose keeps it looking fresh.
- Affordability: It provides an attractive finish without breaking the bank, making it a budget-friendly choice for many families.
Aesthetic Appeal
With a variety of colors and textures available, vinyl siding can mimic other materials like wood or stone, providing a high-end look at an affordable price point. This flexibility makes it suitable for various home styles.
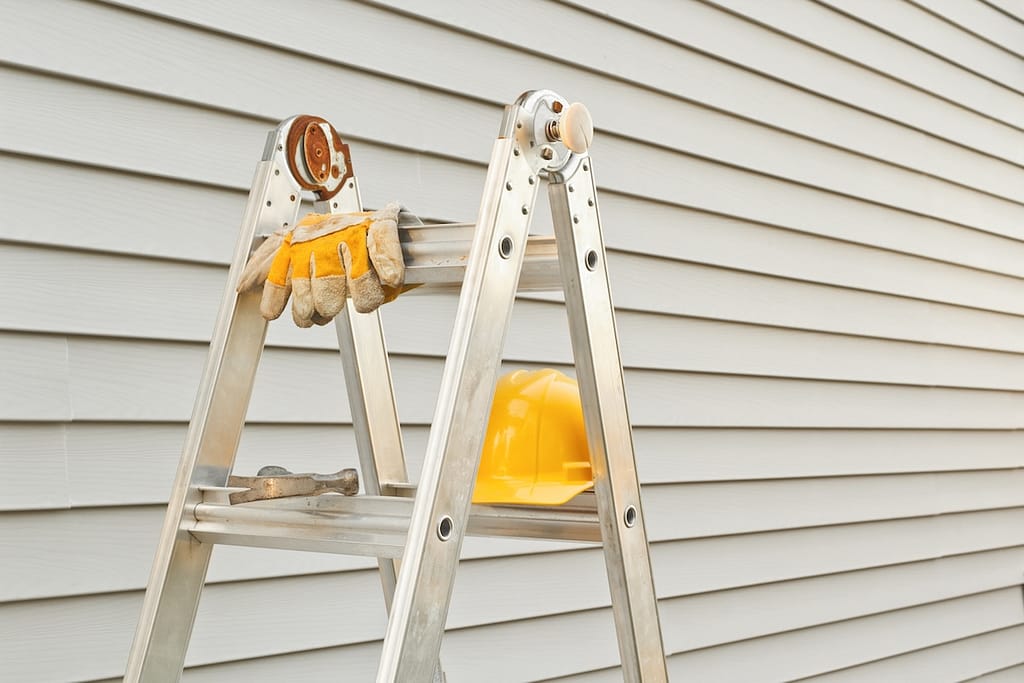
Tools You’ll Need for Installing Vinyl Siding
Before starting your installation project, gather the necessary tools to ensure smooth progress. Here’s a checklist of what you’ll need:
- Measuring Tape for accurate dimensions of walls and siding pieces.
- Utility Knife or Tin Snips to cut siding to desired lengths.
- Hammer or Pneumatic Nail Gun to secure the siding.
- Chalk Line to maintain straight guidelines for installation.
- Level to ensure horizontal panels are aligned.
- Zip Tool for locking and unlocking siding pieces during adjustments.
- Circular Saw with a fine-toothed blade for clean cuts.
- Work gloves and safety goggles to protect your hands and eyes during the process.
Investing in these tools beforehand will save time and make the project far more efficient.
Step-by-Step Guide to Vinyl Siding Installation
Installing vinyl siding involves careful preparation, precise measurements, and proper technique to ensure top-notch results. Below, we’ll break the process into manageable steps.
Preparing Your Home
- Inspect and Repair the Exterior: Start by inspecting your home’s exterior for any structural issues like rotting wood or damaged insulation. Make repairs as needed to create a sturdy, even surface.
- Sheathing and House Wrap: Apply a moisture-resistant house wrap to protect your home from water infiltration. Secure it with staples, ensuring there are no gaps or tears.
- Install Starter Strips: Attach starter strips horizontally, ensuring they’re level and positioned at the bottom edge of the wall. These strips will anchor the first row of siding panels.
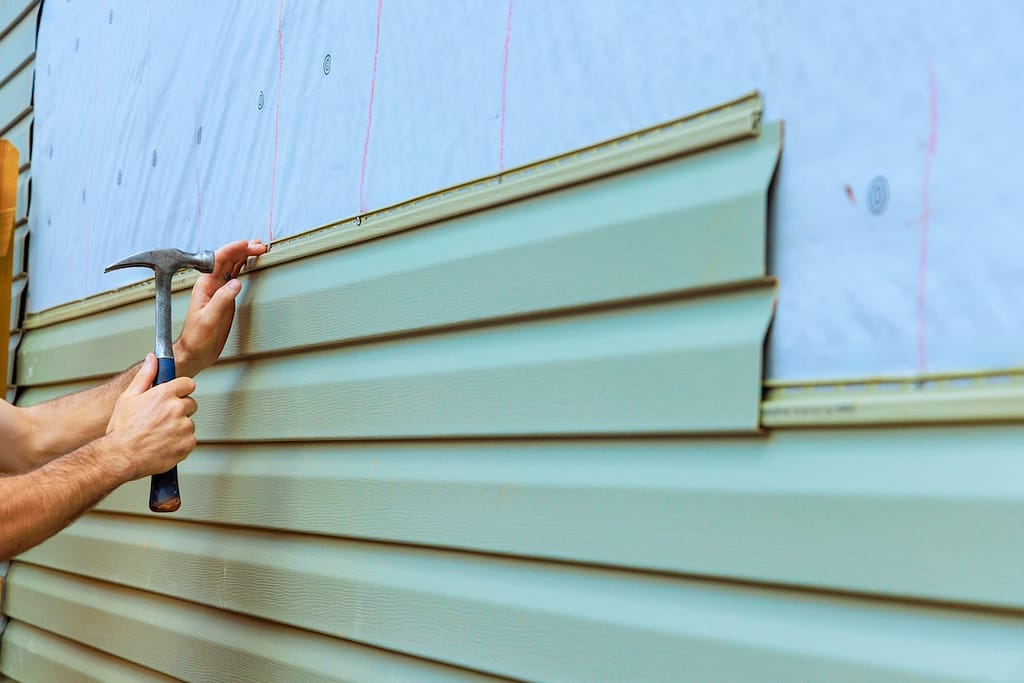
Installing the Siding
- Measure and Cut Panels: Measure the walls carefully and cut panels to fit each section. Ensure you leave space for expansion and contraction due to temperature changes.
- Begin from the Bottom: Start at the bottom corner of the wall and work your way up. Snap each panel into the starter strip and nail it loosely to allow for movement.
- Overlap Panels: Overlap panels by at least an inch to prevent water infiltration. Align the panels to achieve a seamless appearance.
- Work Around Openings: For doors and windows, use J-channels to frame the openings. This creates a finished look and better protects against moisture.
- Secure the Trim: Finish the edges with trim pieces to give the siding a polished appearance. Use corner posts where the walls meet for added stability and aesthetic appeal.
5 Pro Tips for a Flawless Installation
A successful vinyl siding installation depends on attention to detail and proper technique at every step. Following these professional tips can help homeowners avoid common issues and ensure long-lasting performance.
1. Choose the Right Nails
Using the correct fasteners is critical for maintaining the integrity and flexibility of vinyl siding over time. Improper nailing can lead to warping, cracking, or panels pulling loose during temperature changes.
- Corrosion resistance: Use galvanized or stainless steel nails to prevent rust and staining.
- Proper head size: Wide-head nails provide better support and reduce the risk of pull-through.
- Correct spacing: Nails should be driven straight and centered in the slot.
- Allow movement: Do not drive nails too tight so panels can expand and contract.
2. Leave Room for Expansion
Vinyl siding naturally expands and contracts with temperature fluctuations, especially in climates with seasonal swings. Failing to account for this movement can cause buckling or warping.
- Expansion gaps: Leave about 1/4 inch of space at trim connections.
- Temperature awareness: Install panels with consideration for current weather conditions.
- Flexible fit: Ensure panels are not tightly locked against edges.
- Long-term performance: Proper spacing prevents distortion over time.
3. Check for Level Regularly
Maintaining straight and level rows is essential for both appearance and structural performance. Small alignment issues can become more noticeable as installation progresses.
- Frequent checks: Use a level after installing each row or section.
- Starter strip alignment: Ensure the first row is perfectly straight before continuing.
- Visual consistency: Straight lines improve curb appeal and prevent gaps.
- Error prevention: Catching issues early avoids larger corrections later.
4. Store Panels Properly
Proper storage before installation helps preserve the shape and condition of siding panels. Warped or damaged materials can affect both installation and final appearance.
- Shaded storage: Keep panels out of direct sunlight to prevent warping.
- Flat placement: Store panels on a flat surface to maintain their shape.
- Dry conditions: Protect materials from moisture exposure before use.
- Handling care: Avoid bending or stacking improperly.
5. Mistakes to Avoid
Avoiding common installation errors is just as important as following best practices. These mistakes can lead to costly repairs or reduced siding lifespan.
- Improper overlap: Overlapping panels too much or too little can cause gaps or buckling.
- Skipping house wrap: Failing to install a moisture barrier increases the risk of water damage.
- Over-tight fastening: Restricting panel movement leads to warping.
- Ignoring manufacturer guidelines: Each product has specific installation requirements that should be followed closely.
Common Questions About Vinyl Siding Installation
Do I Need a Permit to Install Vinyl Siding?
- It depends on your locality. Check with your city’s building department before starting.
Can I Install Siding Over Old Siding?
- Yes, but it’s generally better to remove the old siding to inspect for underlying issues.
What Should I Do If a Panel is Damaged?
- Replace it immediately. Vinyl siding is designed for individual panels to be easily removed and replaced.
How to Avoid Warping
- Allow for Expansion: Measure twice to ensure proper spacing at joints and edges.
- Keep Nails Loosely Fitted: Don’t hammer nails tightly against the panel; this restricts movement and leads to warping over time.
- Store Panels Horizontally: Store panels flat to prevent distortion before installation begins.
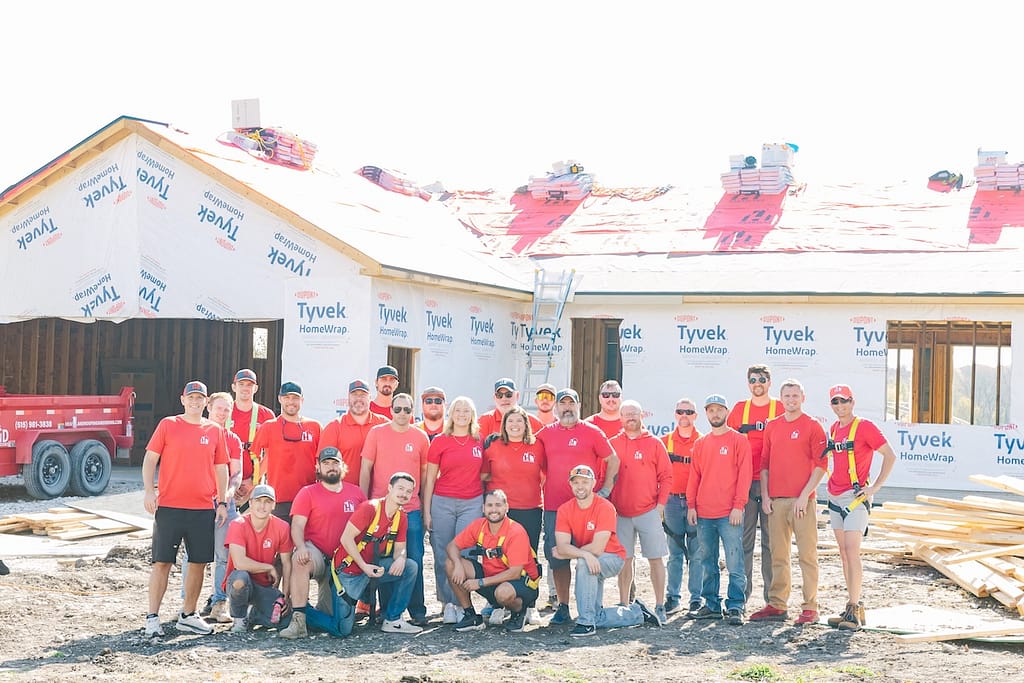
Why Choose Heartland Roofing, Siding and Solar
When it comes to installing vinyl siding, you want a team you can trust. At Heartland Roofing, Siding and Solar, we bring years of experience and a commitment to quality that ensures professional results every time. To see how vinyl compares to other materials like fiber cement and wood, review our full comparison of house siding cost.
Even after a perfect installation, keeping your home’s exterior pristine requires regular maintenance. To ensure your upkeep routine is effective and damage-free, it’s vital to know the correct methods for how to clean vinyl siding. Don’t leave your home’s exterior to chance. Whether you’re upgrading or starting fresh, we’re here to bring your vision to life.
Contact us today for a free inspection and to take your first steps towards your dream home!

Get Started Today!
From roofing to siding, Heartland Roofing is the team you need to take your home exterior to the next level. All you need to do is reach out! Fill out our contact form or give us a call to get the reliable help that you need.


